

제조공정

산업 제조
| × | 1 | ||||
 |
| × | 1 | |||
| × | 1 | ||||
 |
| × | 1 | |||
 |
| × | 1 | |||
| × | 1 |
 |
| |||
|
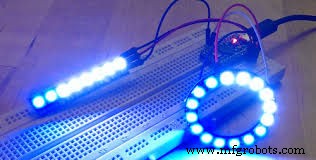
저전력 무선 표준과 저비용, 초소형 LED, 센서 및 통신 장치가 결합되면서 스마트 조명은 사물 인터넷 및 홈 자동화를 위한 촉매제가 되었습니다.
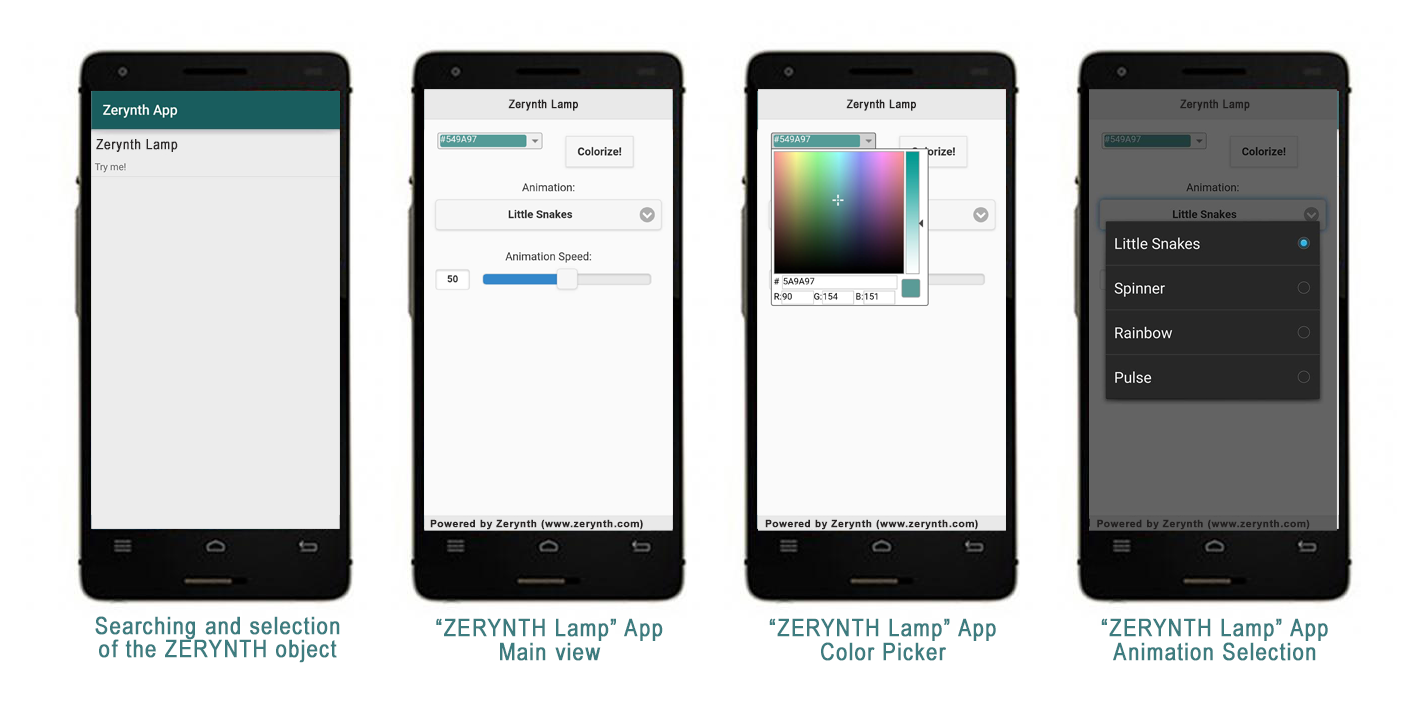
이 튜토리얼에서는 Zerytnh 앱을 사용하여 모바일을 통해 NeoPixel LED 스트립을 제어하는 방법을 살펴보겠습니다. Zerytnh 앱은 색상 선택기와 다양한 사전 구성된 애니메이션 선택을 위한 메뉴를 보여줍니다.
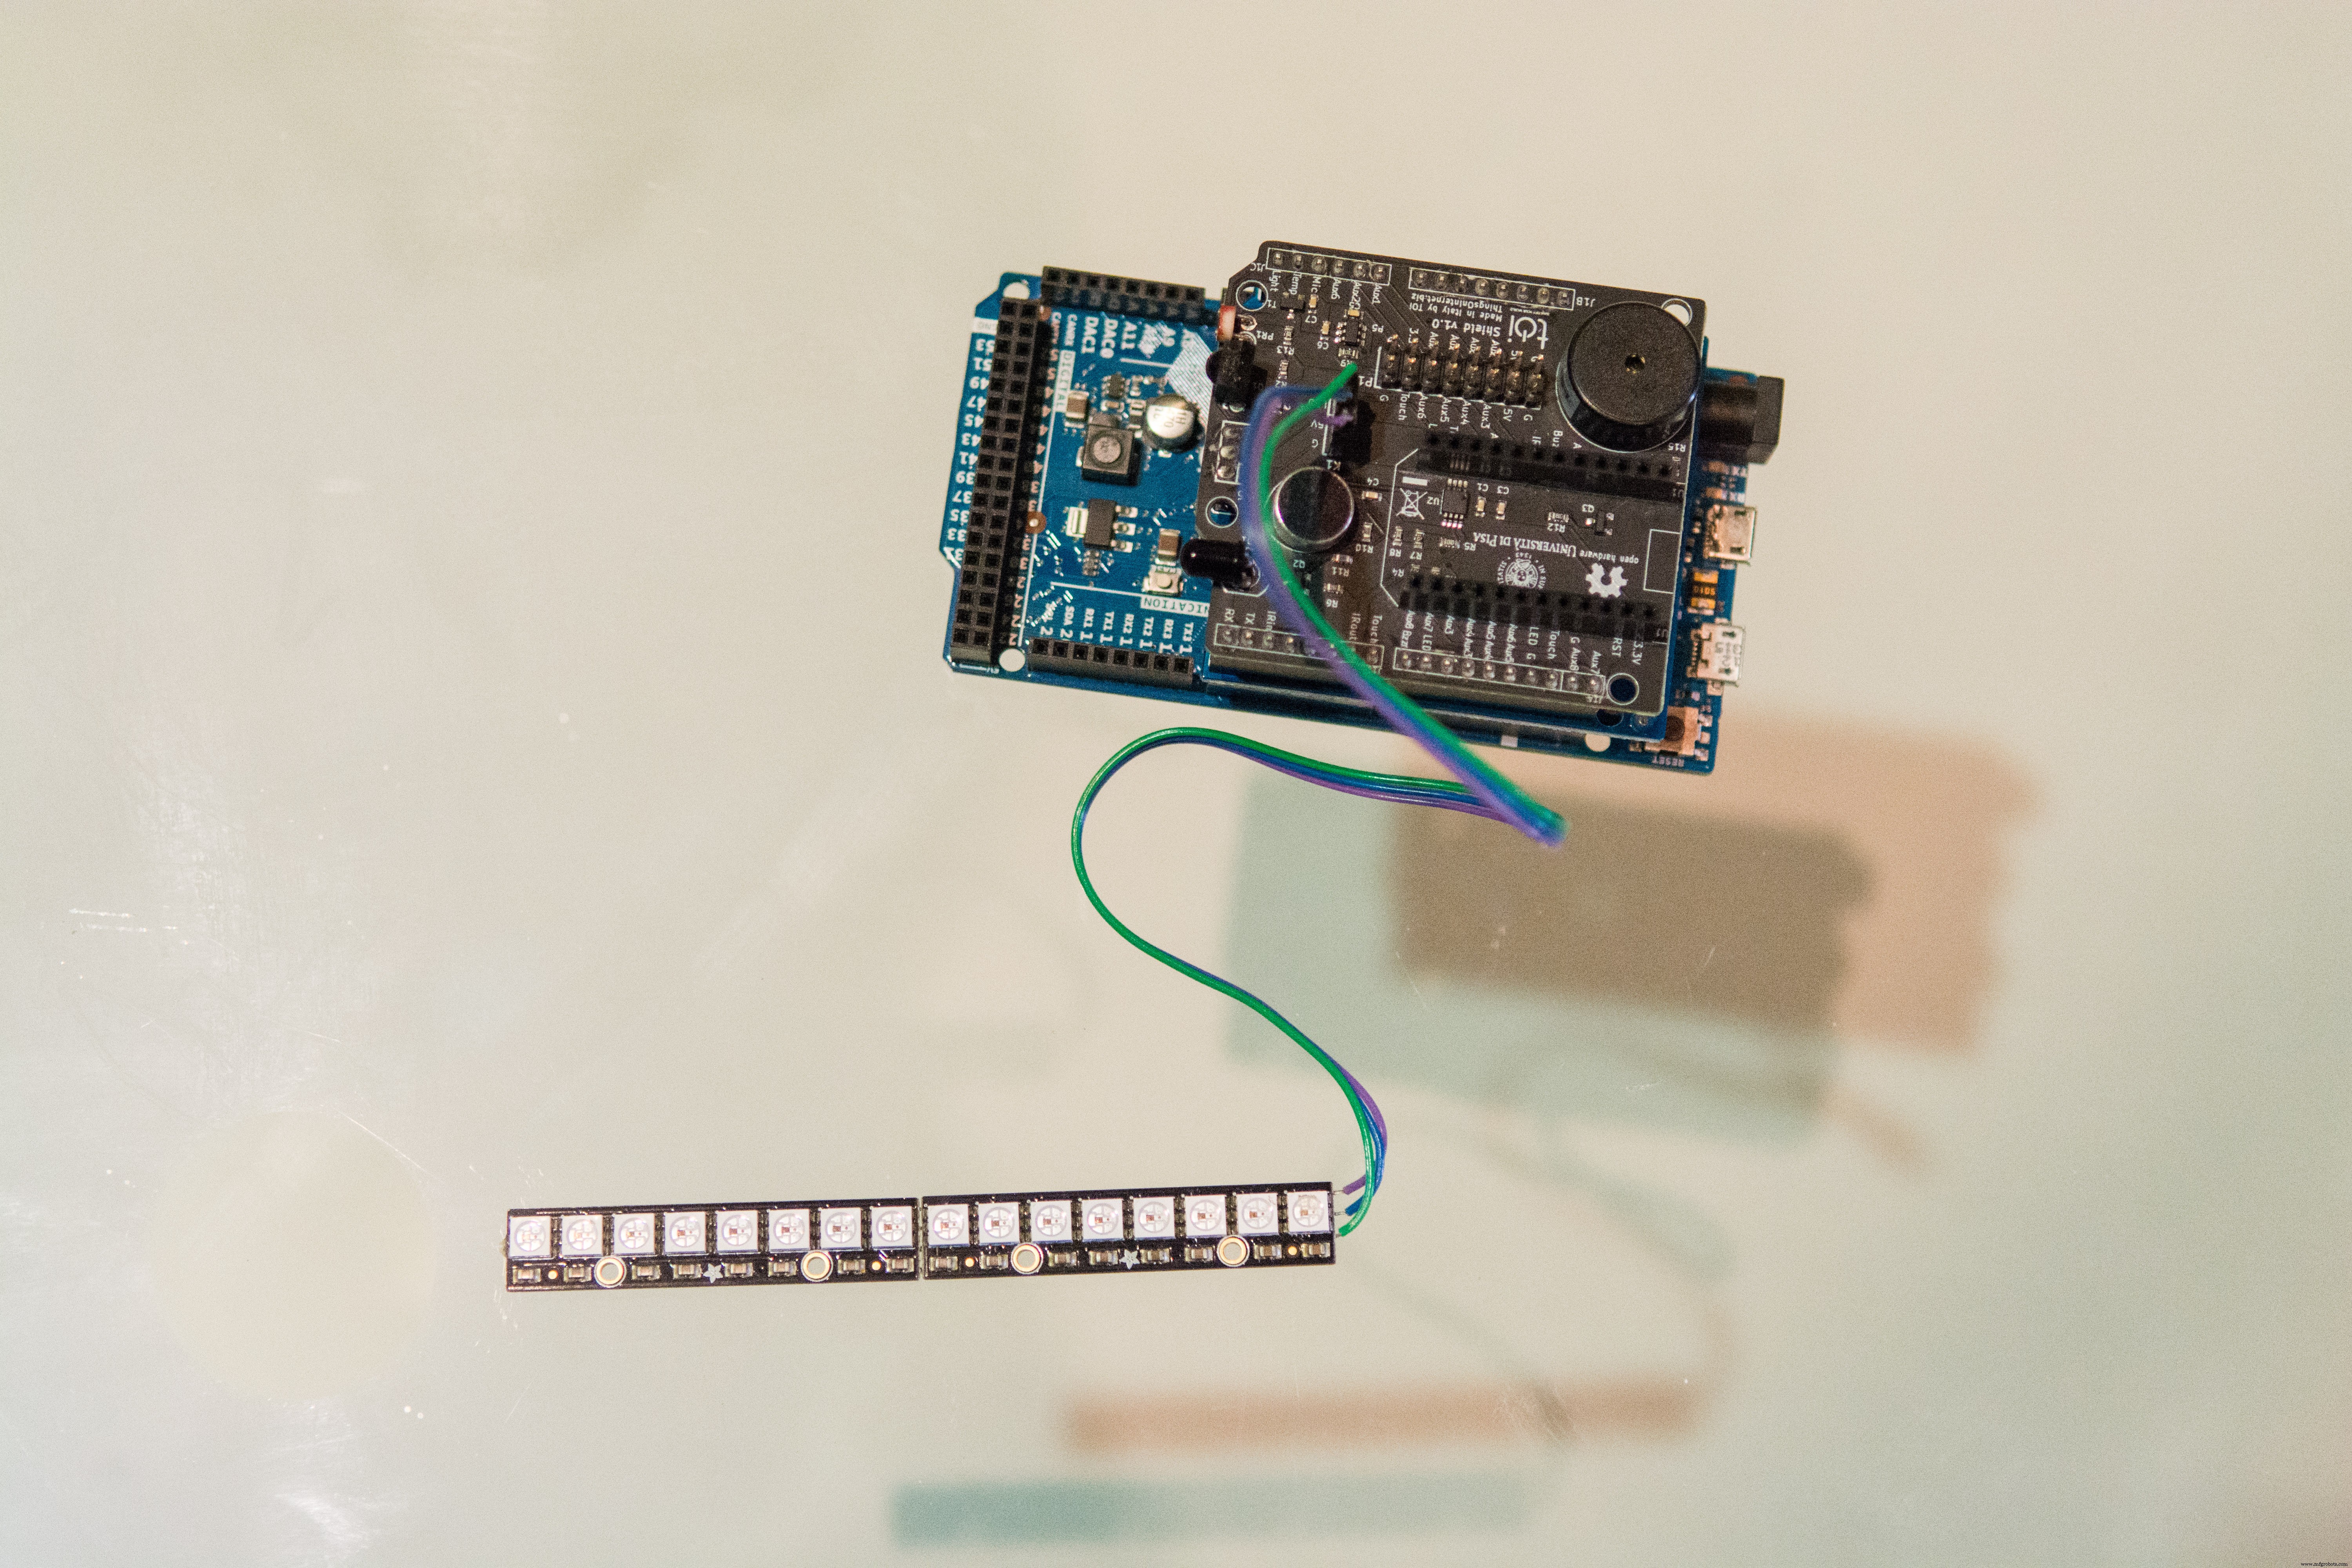
1단계:필수 자료
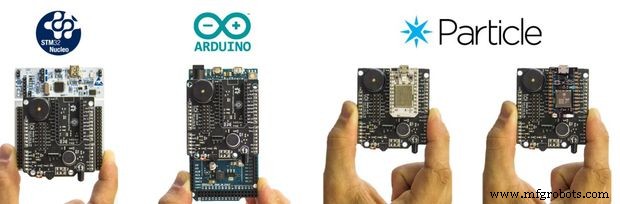

프로젝트에는 몇 가지 요소가 필요합니다.
<울>
2단계:조립
 <울>
<울>
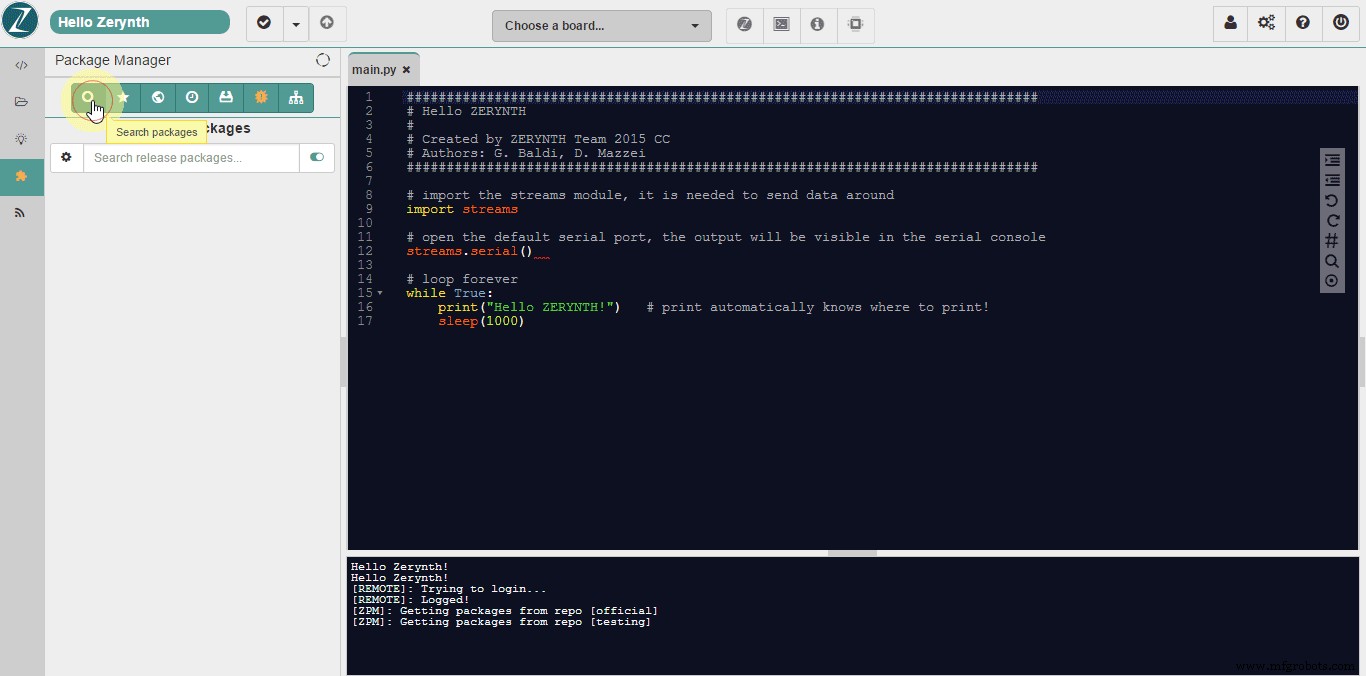
3단계:프로그래밍
Zerynth를 사용하는 것은 매우 쉽습니다!
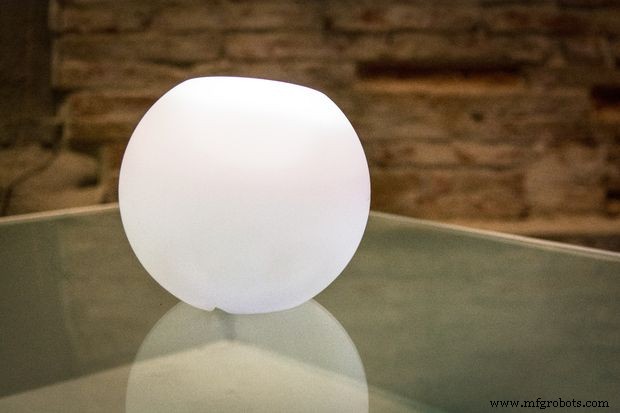
<울>램프를 켜면 미리 설정된 네트워크에 자동으로 연결됩니다.
그런 다음 네트워크에 연결된 Zerynth 개체를 검색할 Zerynth 앱을 열고 관심 개체(이 경우 "Zerytnh Lamp")를 선택하면 상호 작용할 수 있습니다. 이 경우 Zerynth 앱은 미리 구성된 다양한 애니메이션을 선택할 수 있는 색상 선택기와 메뉴를 보여줍니다.
코드는 매우 간단하고 많은 주석이 있습니다. 질문이나 제안 사항이 있으면 Zerynth 커뮤니티 포럼에 자유롭게 게시하십시오. http://community.zerynth.com/
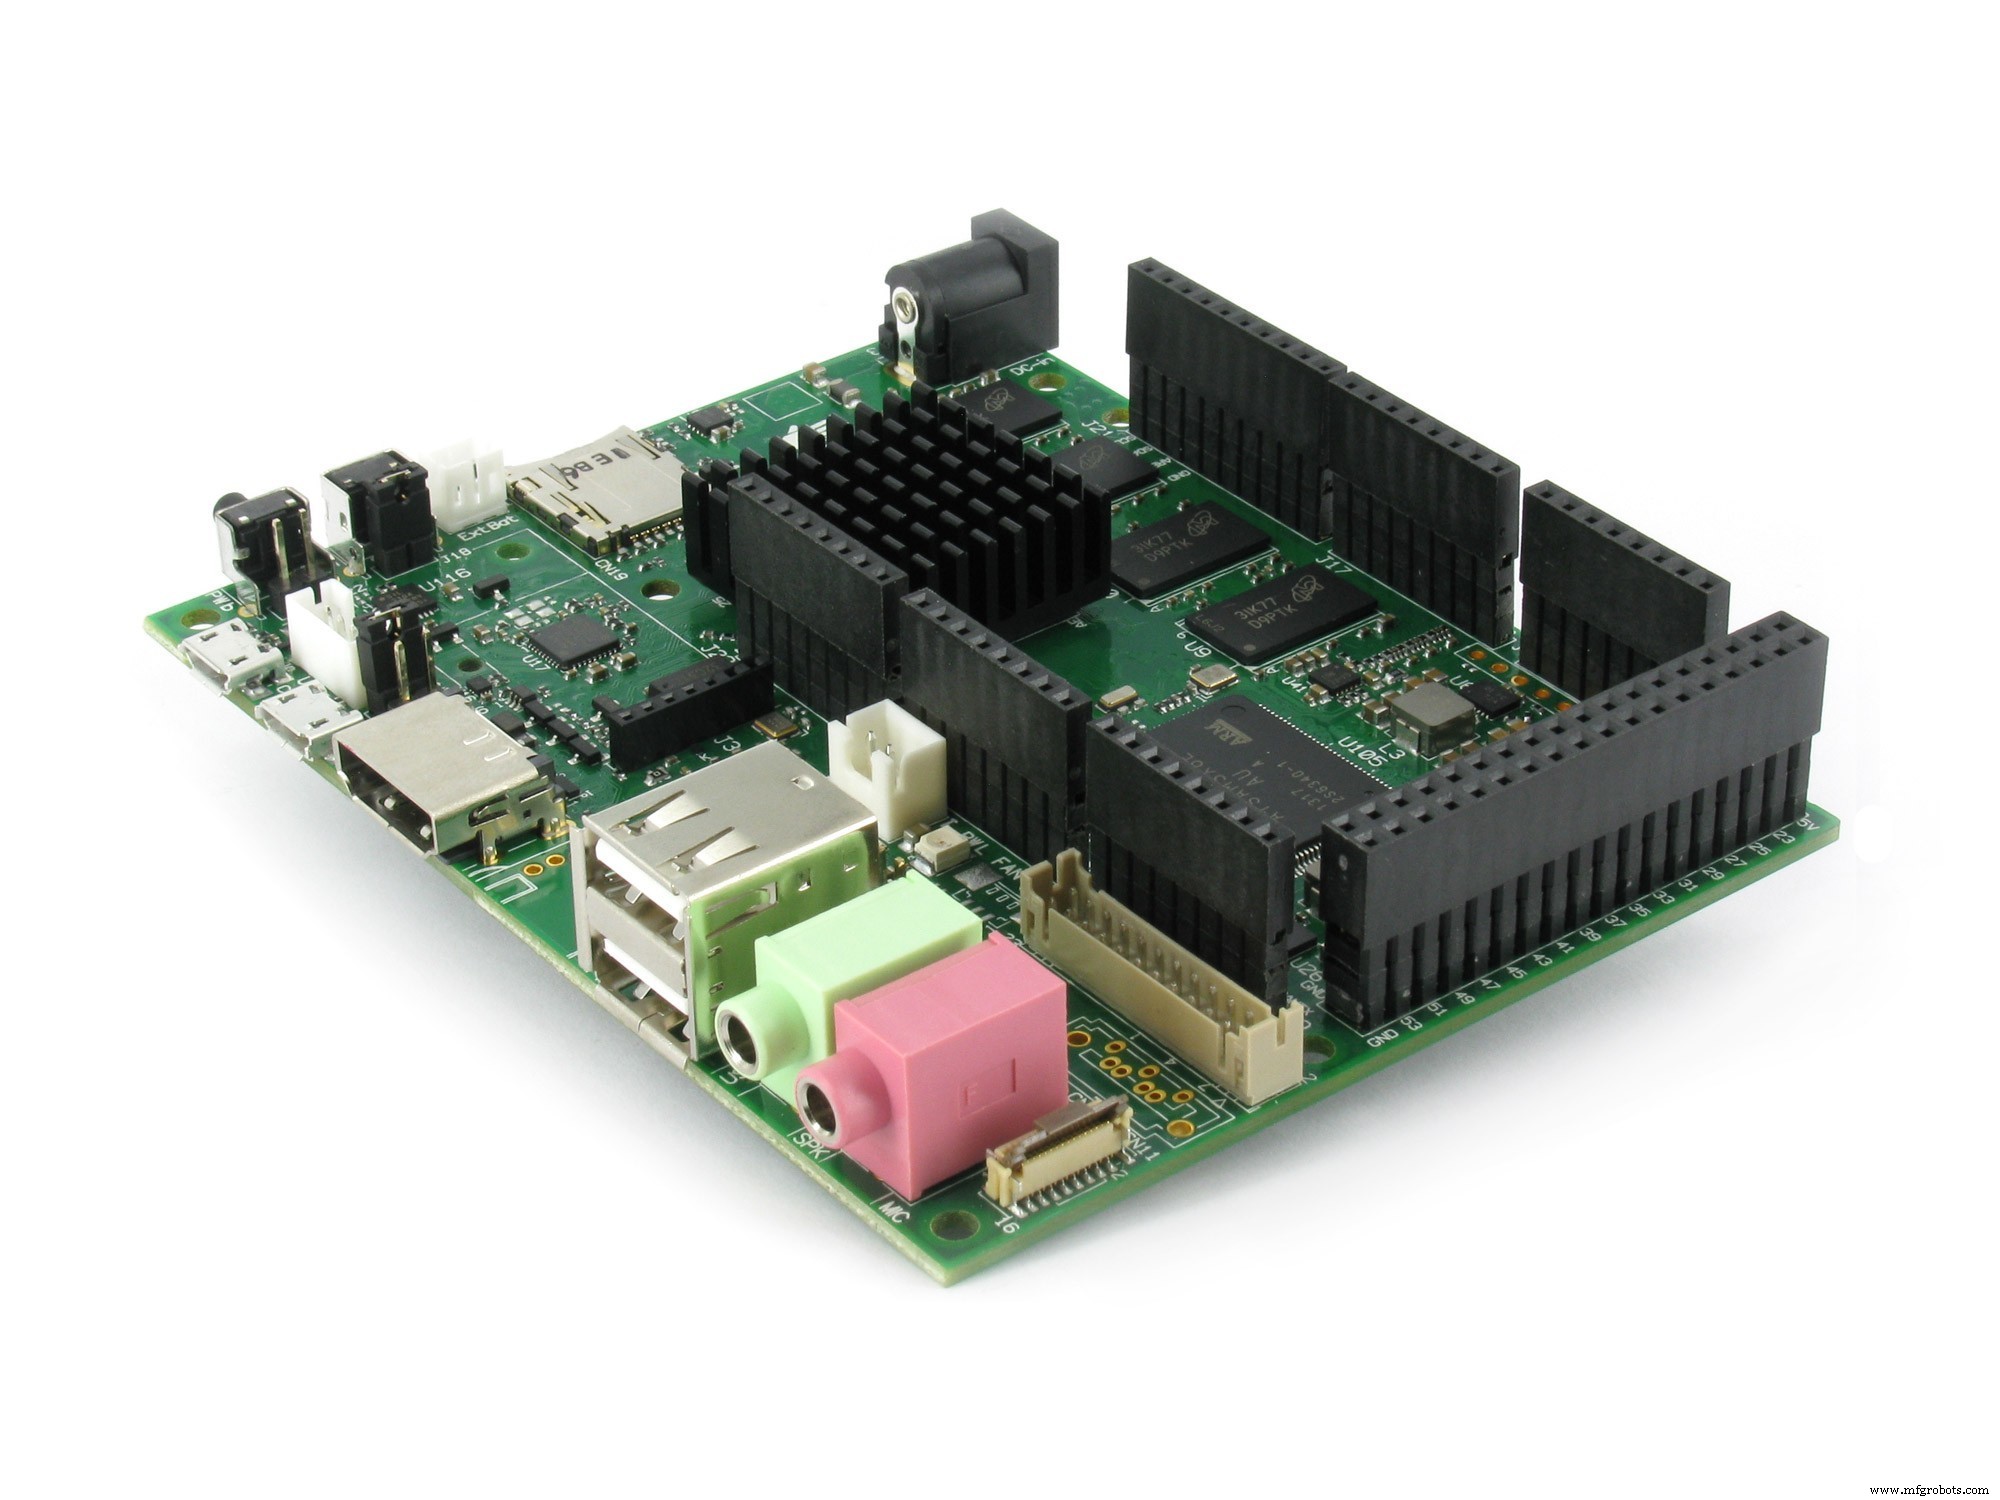
4단계:IoT를 더 밝게 만드세요!
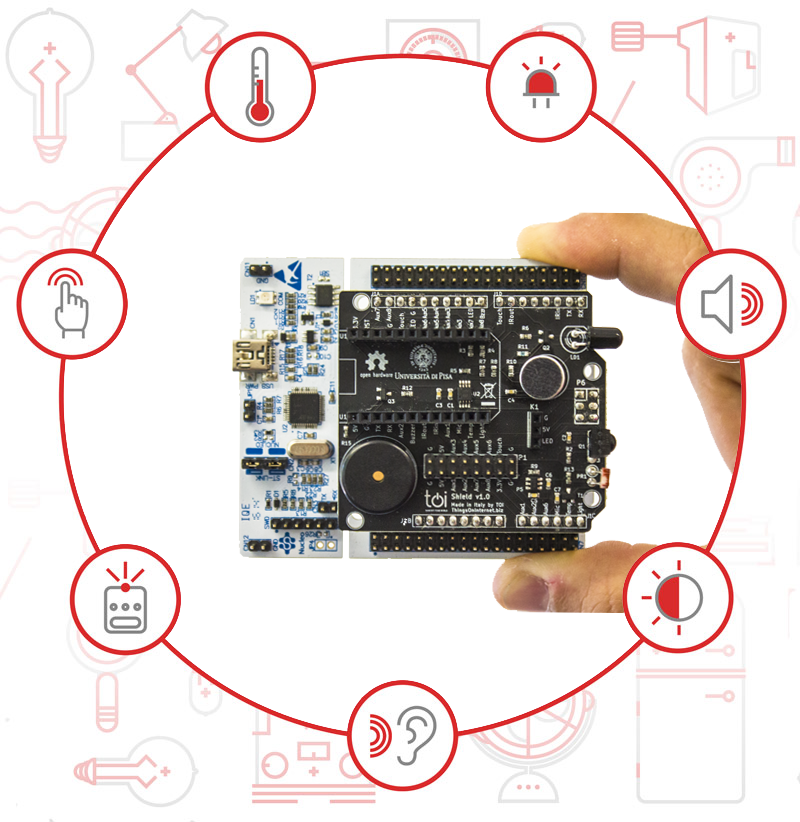
마음에 드셨나요? 하드코어하자!
Zerynth Shield는 터치 감지용 센서, 적외선 LED, 마이크, 광 센서 및 온도 센서를 포함한 센서 및 액추에이터 세트를 제공합니다. 이 매우 간단한 예제 코드에서 시작하여 원하는 동작을 개발할 수 있습니다. Zerynth Shield를 사용하여 램프의 기능을 확장하세요!
Luigi F. Cerfeda(@L_F_Cerfeda) - Zerynth 팀
<섹션 클래스="섹션 컨테이너 섹션 축소 가능" id="코드">제린스 램프
<버튼 클래스="ui-btn UI-btn-inline ui-shadow" onclick="ZerynthApp.call('change_color',cur_color.r,cur_color.g,cur_color.b)">색상 지정!Zerynth 제공(www.zerynth.com)

제조공정
구성품 및 소모품 Arduino UNO × 1 PIR 모션 센서(일반) × 1 Espressif ESP8266 ESP-01 × 1 스피커:0.25W, 8옴 × 1 SparkFun 서보 - 일반 금속 기어(마이크로 크기) × 1 앱 및 온라인 서비스 circuito.io https://www.circuito.io/app?selectedComponentsIds=11021&selectedComponentsIds =9442
DIY LED 램프 키트는 가정에서나 전자 제품에 대해 배우기 위한 완벽한 프로젝트입니다. 이 LED 램프 키트는 환경 친화적이며 에너지 효율적이며 주택 소유자가 전기 요금을 절약하는 데 도움이 됩니다. 이러한 특성 덕분에 LED 조명은 점점 대중화되고 있습니다. LED 램프는 자체적으로 전원을 켤 수 없습니다. 일을 하려면 회로가 필요합니다. LED 키트를 만드는 것은 배우기 쉽습니다. 이 기사를 읽은 후 회로 기능이 어떻게 작동하고 LED 램프에 전원을 공급하는지 배우게 될 것입니다. 또한 이 가이드는 납땜을 통해 모든 것을