


제조공정

산업 제조
| 부품 | 수량 |
|---|---|
| 아두이노 우노 | 1 |
| 아두이노용 EL 실드 | 1 |
| EL 테이프 - 녹색 1m | 1 |
| EL 테이프 - 빨강 1m | 1 |
| EL 테이프 - 파랑 1m | 1 |
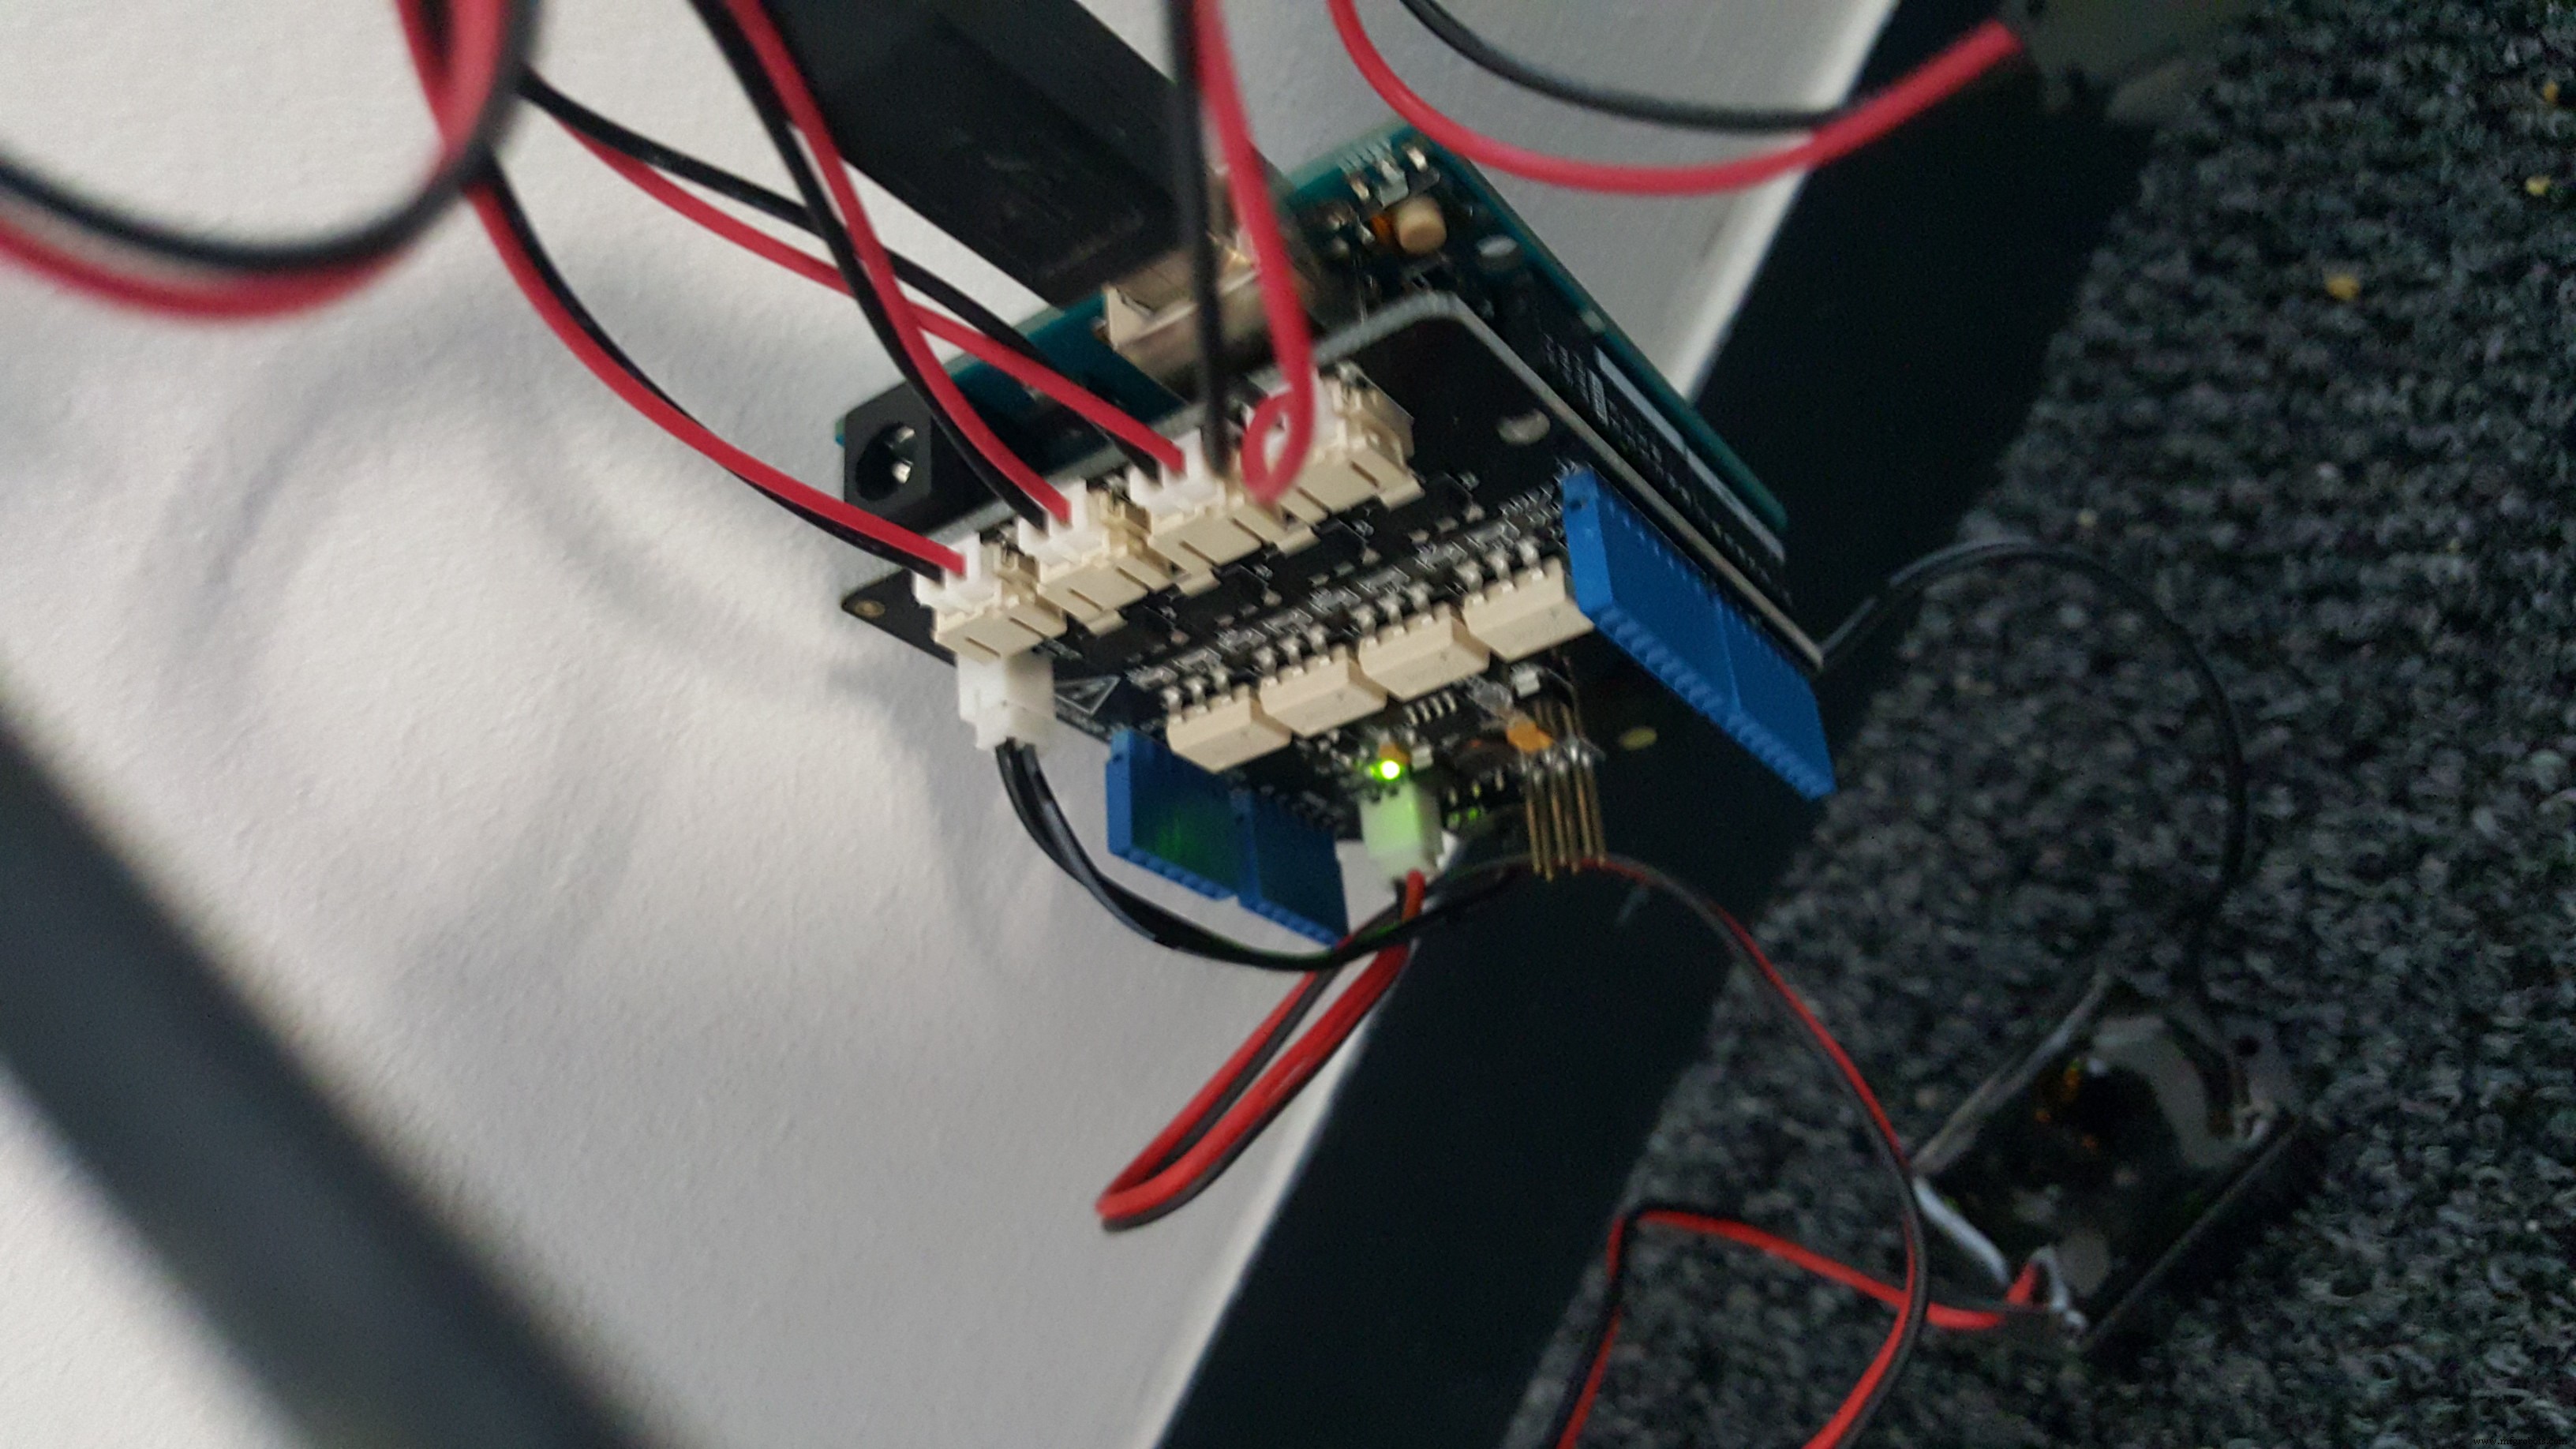
씨드스튜디오(SeeedStudio) EL 실드와 아두이노 우노를 사용했으며, EL 테이프를 실드의 4개 채널 중 3개에 연결했습니다.
연결이 완료되면 코드를 업로드하고 음악을 재생하기만 하면 됩니다!
이 코드는 프로세싱(Processing)과 프로세싱 아두이노 라이브러리를 사용합니다. 둘 다 정상 작동하도록 설정해야 합니다.
설치 완료 후 아두이노 라이브러리를 프로세싱 스케치북 폴더의 libraries 폴더로 이동하고, 프로세싱 에디터에서 코드를 여세요.
BeatWrite 파일의 38번째 줄:
song = minim.loadFile("/home/paul/Music/dope.mp3", 2048);
를 컴퓨터의 로컬 MP3 파일 경로로 변경하고 재생 버튼을 누르세요!
/**
 * BeatDetect 객체를 FREQ_ENERGY 모드로 사용하는 예제.
 * isKick, isSnare, isHat, isRange, isOnset(int)로 비트 추적 가능.
 * detect()를 연속적인 오디오 버퍼로 호출해 분석을 "틱"해야 함.
 * draw() 안에서 호출 가능하지만 일부 오디오 버퍼를 놓칠 수 있음.
 * AudioListener인 BeatListener를 구현해 시스템이 처리하는 모든 오디오 버퍼에서
 * detect()를 호출하되 버퍼 반복이나 누락 없이 동작하도록 함.
 * 전체 곡을 재생하므로 로딩이 다소 느릴 수 있음.
 */
import processing.serial.*;
import ddf.minim.*;
import ddf.minim.analysis.*;
import cc.arduino.*;

Minim minim;
AudioPlayer song;
BeatDetect beat;
BeatListener bl;
Arduino arduino;

int ledPin = 1;   // EL 채널 1 연결
int ledPin2 = 2;  // EL 채널 2 연결
int ledPin3 = 3;  // EL 채널 3 연결
float kickSize, snareSize, hatSize;

void setup() {
  size(512, 200, P3D);
  minim = new Minim(this);
  arduino = new Arduino(this, "/dev/ttyACM1", 57600);
  song = minim.loadFile("/home/paul/Music/dope.mp3", 2048);
  song.play();

  beat = new BeatDetect(song.bufferSize(), song.sampleRate());
  beat.setSensitivity(100);  // 300ms 감도 설정 (기본값 10)

  kickSize = snareSize = hatSize = 16;

  bl = new BeatListener(beat, song);
  textFont(createFont("Helvetica", 16));
  textAlign(CENTER);

  arduino.pinMode(ledPin+3, Arduino.OUTPUT);
  arduino.pinMode(ledPin2+3, Arduino.OUTPUT);
  arduino.pinMode(ledPin3+3, Arduino.OUTPUT);
}

void draw() {
  background(0);
  fill(255);

  if(beat.isKick()) {
    arduino.digitalWrite(ledPin+3, Arduino.HIGH);
    kickSize = 32;
  }
  if(beat.isSnare()) {
    arduino.digitalWrite(ledPin2+3, Arduino.HIGH);
    snareSize = 32;
  }
  if(beat.isHat()) {
    arduino.digitalWrite(ledPin3+3, Arduino.HIGH);
    hatSize = 32;
  }

  arduino.digitalWrite(ledPin+3, Arduino.LOW);
  arduino.digitalWrite(ledPin2+3, Arduino.LOW);
  arduino.digitalWrite(ledPin3+3, Arduino.LOW);

  textSize(kickSize);
  text("KICK", width/4, height/2);
  textSize(snareSize);
  text("SNARE", width/2, height/2);
  textSize(hatSize);
  text("HAT", 3*width/4, height/2);

  kickSize = constrain(kickSize * 0.95, 16, 32);
  snareSize = constrain(snareSize * 0.95, 16, 32);
  hatSize = constrain(hatSize * 0.95, 16, 32);
}

void stop() {
  song.close();
  minim.stop();
  super.stop();
}
class BeatListener implements AudioListener {
  private BeatDetect beat;
  private AudioPlayer source;

  BeatListener(BeatDetect beat, AudioPlayer source) {
    this.source = source;
    this.source.addListener(this);
    this.beat = beat;
  }

  void samples(float[] samps) {
    beat.detect(source.mix);
  }

  void samples(float[] sampsL, float[] sampsR) {
    beat.detect(source.mix);
  }
}
제조공정
조인트 테이프는 건식벽체(드라이월) 이음매를 도장 전 마감하는 데 쓰는 제품입니다. 건식벽체 설치는 단순하지만, 이음매를 도장용으로 매끄럽게 다듬는 건 꽤 까다롭습니다. 이음매를 도장 후 안 보이게 매끄럽게 만드는 과정을 테이핑이라 부르는데, 이음매 위에 조인트 테이프를 붙이기 때문입니다. 철물점, 홈센터에서 쉽게 구할 수 있습니다. 종이 테이프 타입 이음매에 조인트 머드(컴파운드)를 바르고, 테이프를 눌러 붙인 뒤 얇게 한 겹 더 바릅니다. 두 번째 머드는 테이프를 완전히 덮지 않지만 평평하게 돕습니다. 테이프와 머드가 완전히 마
CNC 프로그래밍은 오늘날 제조업의 핵심입니다. 최신 CNC 기계는 프로그램으로 작동하므로, 운영자는 사용할 수 있는 코드 유형과 사용 방법을 알아야 합니다. CNC 소프트웨어에서 가장 일반적으로 사용되는 프로그래밍 언어는 G코드이며, M코드도 특정 용도로 사용됩니다. CNC 가공에서 G코드와 M코드는 중요한 역할과 기능을 수행합니다: G코드: CNC 프로그래밍에서 기계의 움직임을 제어하며, 부품을 이동하는 방식과 위치를 지시합니다. M코드: CNC 프로그래밍에서 특정 동작이나 프로그램의 시작/정지 등 기타 기계 기능을 제어합